
http://s247.photobucket.com/albums/gg14 ... r%20Armor/
The link to the album 'cause I'm not sure I'm going to post all the pics, and there are versions with sloppy lines thrown over them in photoshop to make the marks more obvious uploaded on there.
The armor kit I bought was pre-owned by another member here
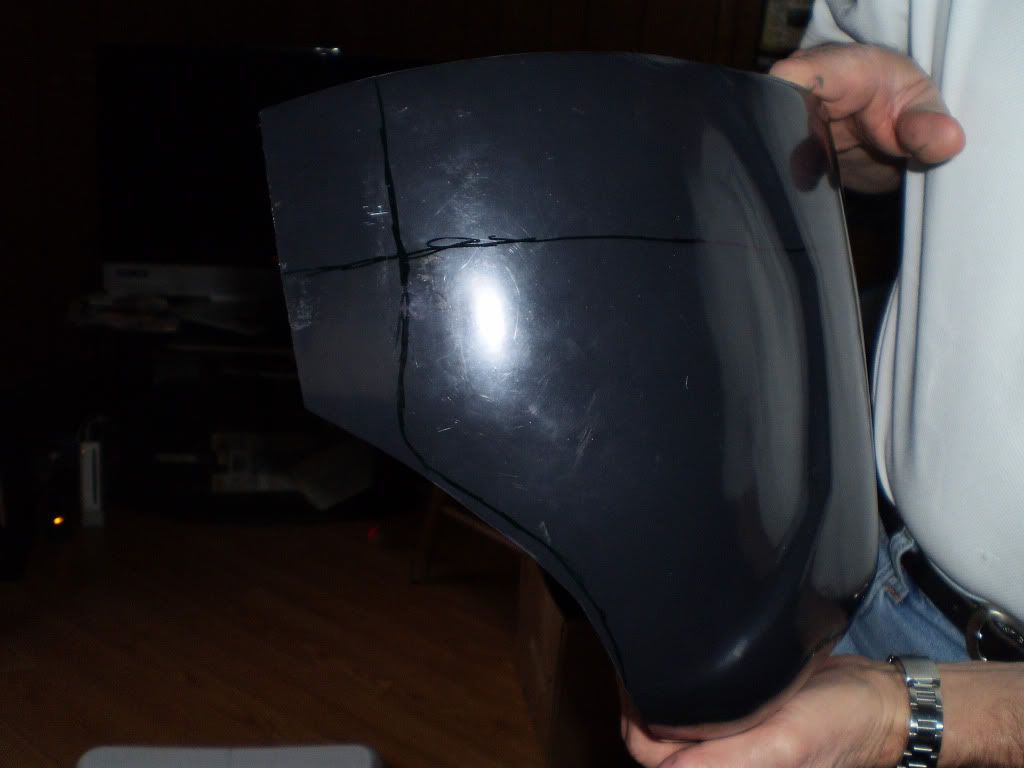
Same with the buttplate. Yow. Not sure how to salvage the molded detailing on some important plates, but I'm hoping other parts will help disguise their lost accuracy?
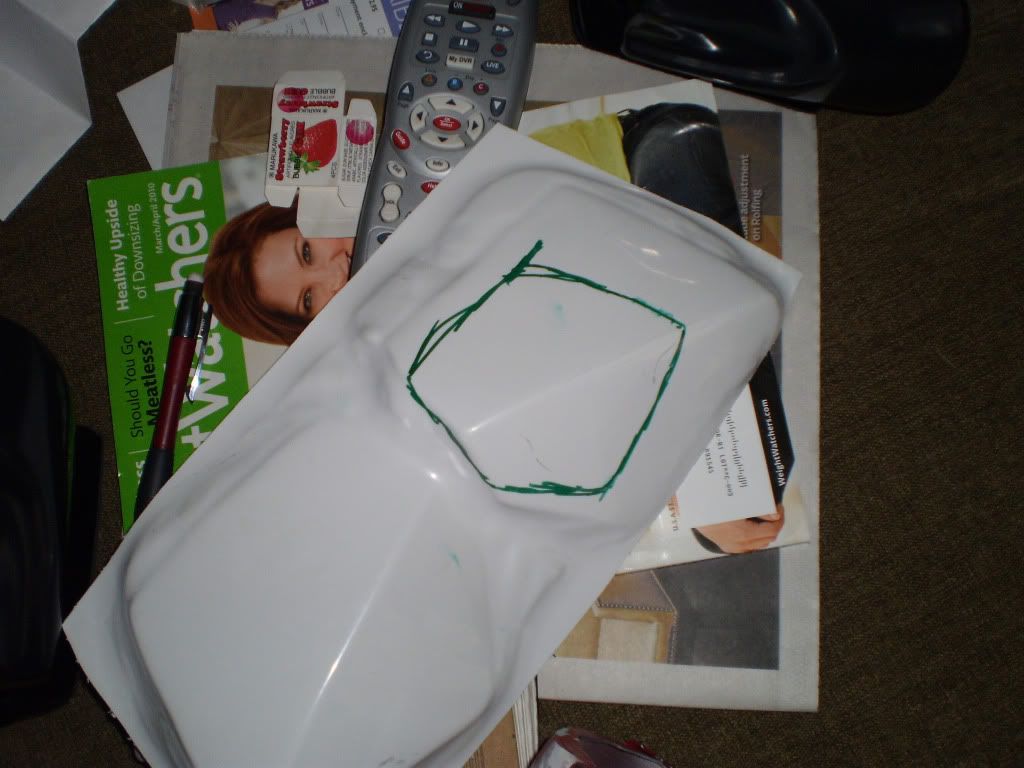
Hand plates
I get the feeling I'm a bit smaller than the average Clone Trooper....
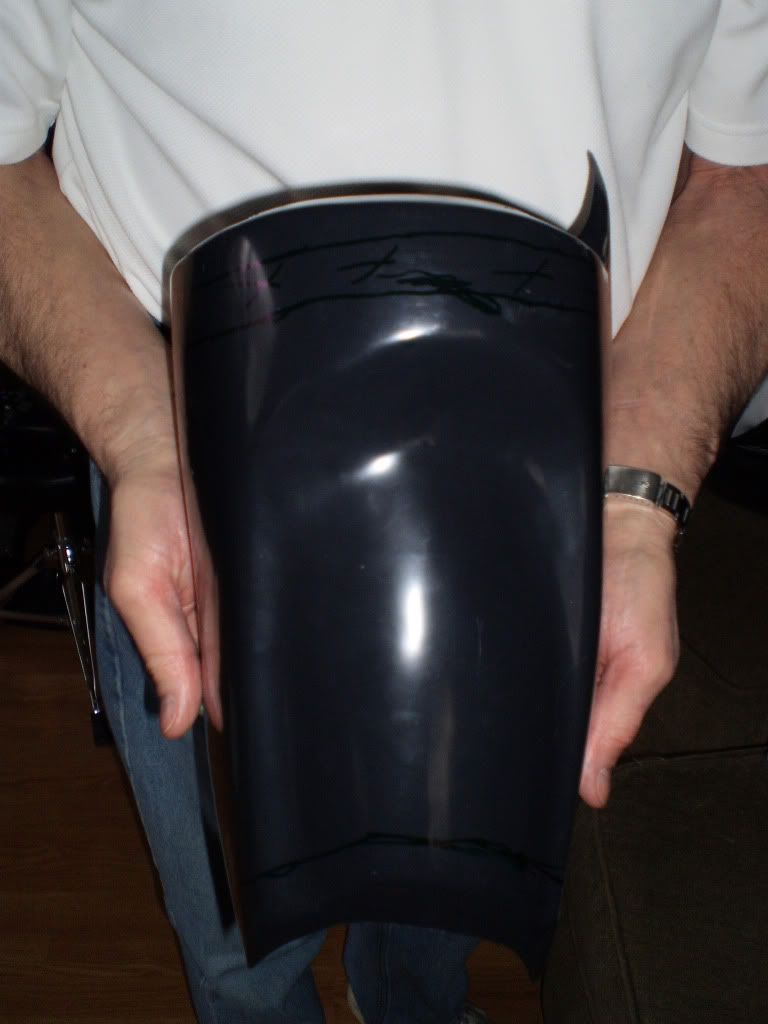
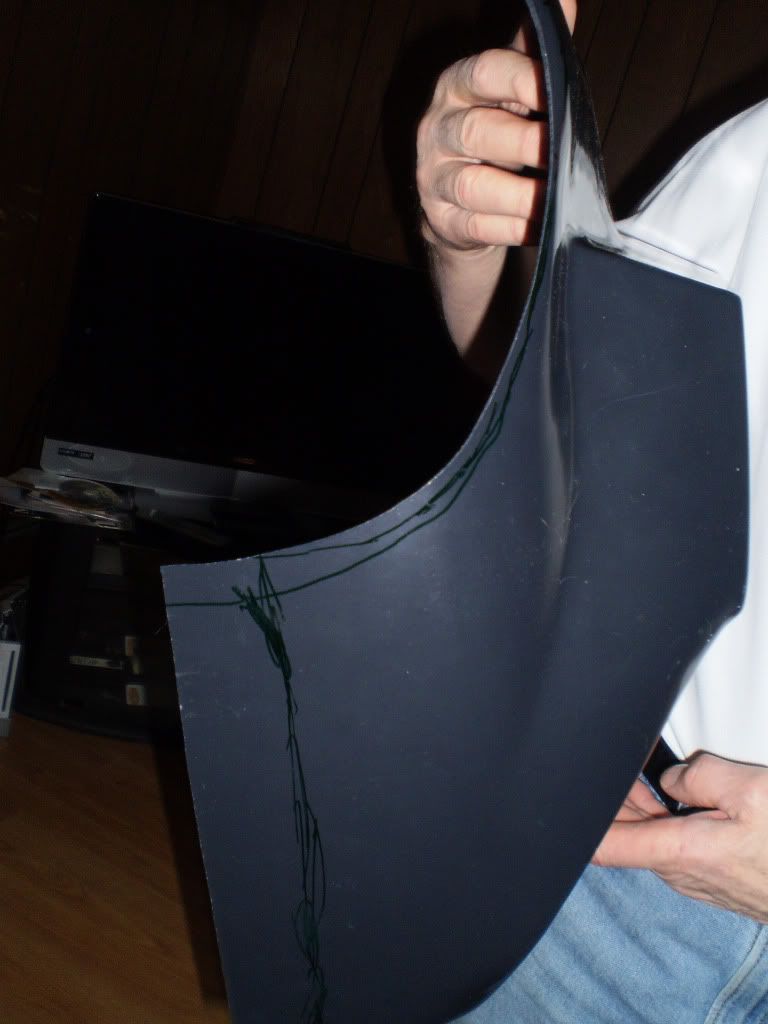
Thigh backplate
Some of the plates I'm hoping I can chop out the difference from a part in the middle or something, and keep the edged top and bottom. I'm already going to be working a ton on it, so what's a bit more complicated piecing together if it saves some detailing?
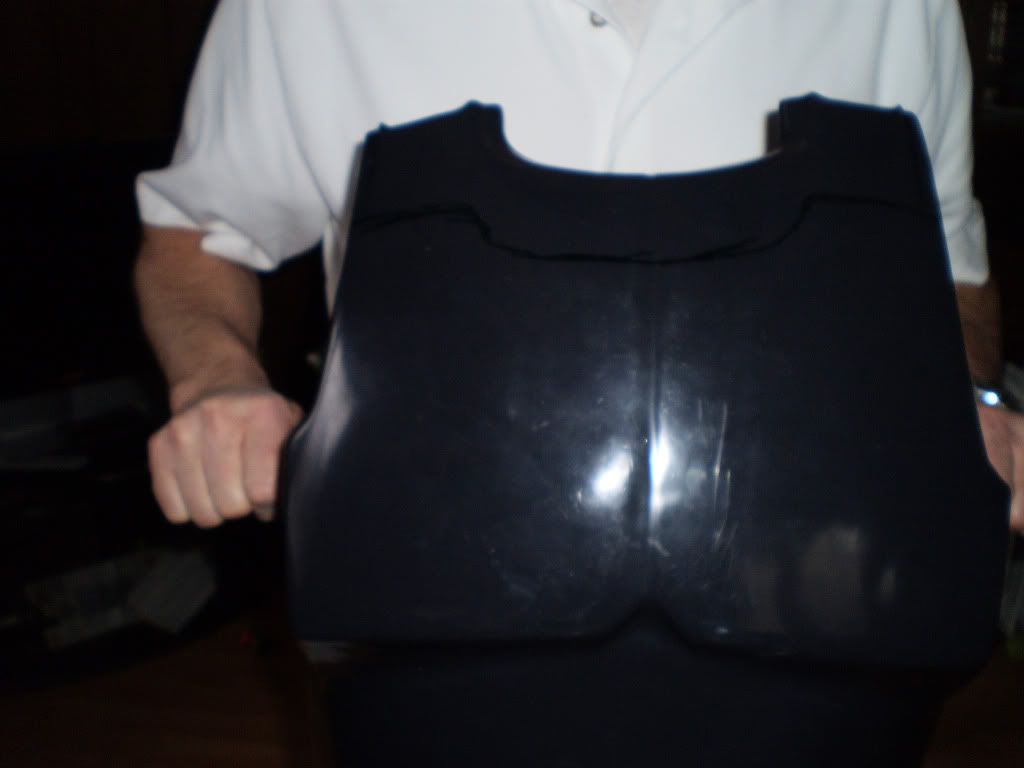
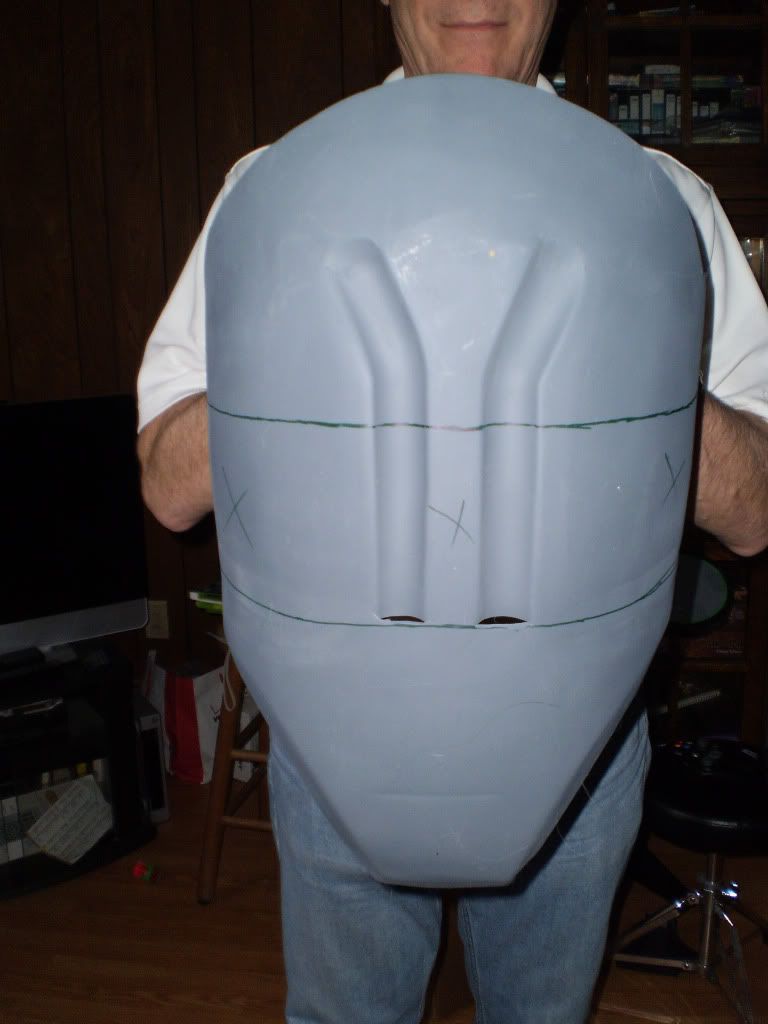
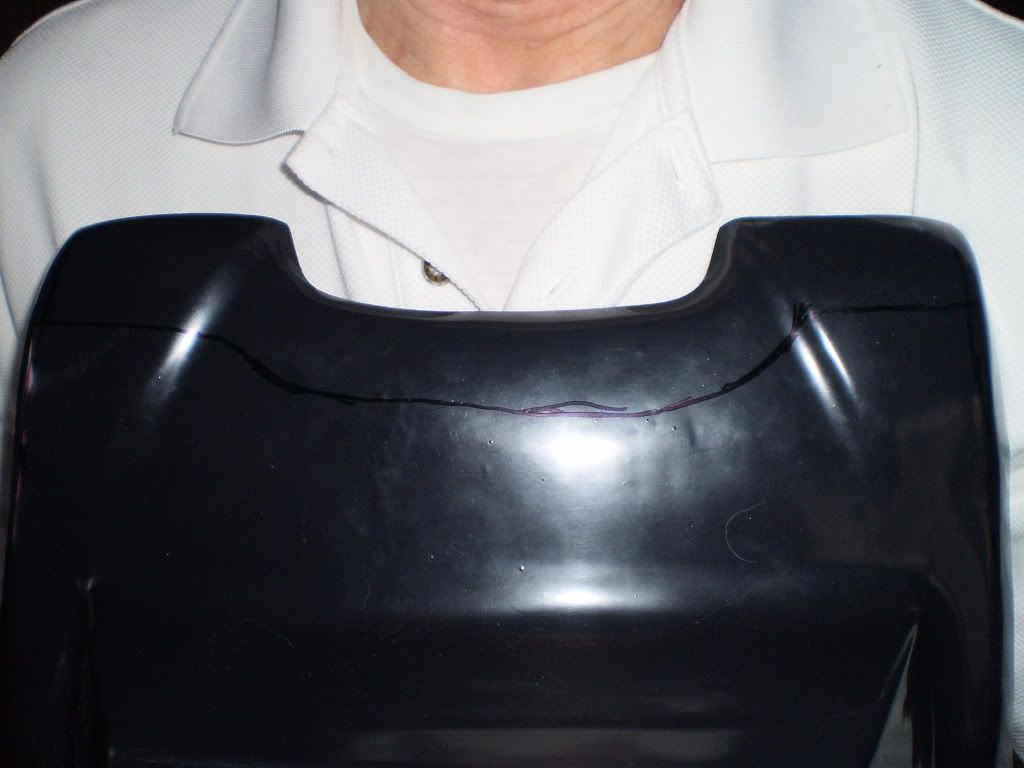
Breastplate. Once again - my torso is abnormally short - my friend had to cut 8 inches out of the middle of the jumpsuit she sewed for me in order for it to fit properly.
I'm hoping most of the trimming for the back can be done off the top, since the bottom is molded more.
More pics are in the album above. Since the kit is second-hand for dirt-cheap, I'm missing parts like the elbow guards (I do have the knee guards, but I'm waiting to see how they are with trimmed leg pieces before deciding how to fix those), the straps for the joint guards and the shoulders, and of course, no belt, weapon, or helmet yet.
The helmet seems like it'd be hard for me to find. I had to use a Rubies 2piece for my mando, and without lots of shoulder armor on I still look like a bobble head.
But enough about what I don't have - with what I do have I need to focus. These lines aren't accurate by any means, just the result of me fiddling around in the living room one night looking at windows for my reflection and awkwardly scribbling while trying to hold the plates up. But they are a starter to give me an idea of just how much needs to go from where, and what details I'm going to loose in the process.
All the lines so far are in Vis-a-Vis marker, so they rub off easily, and can be changed. I'd like to have some input from people who have worked on armor before I do anything permanent, and I'll probably need help getting accurate measurements once the time does come to do final markings.
Does anyone see anything immediately wrong, or somewhere else I can cut down on, or have any other suggestions?